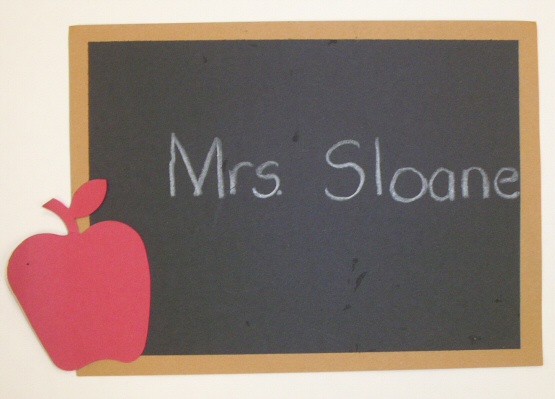
Art Projects and Classroom Displays(Click on any image to see a larger version of that image.) Flat Kids - We make these life-size pictures of the kids with our sixth grade buddies. They make a great display in the hallway for Open House or a school program. The Flat Kids are holding their chalkboard names. The child writes his/her name on the paper with white crayon.

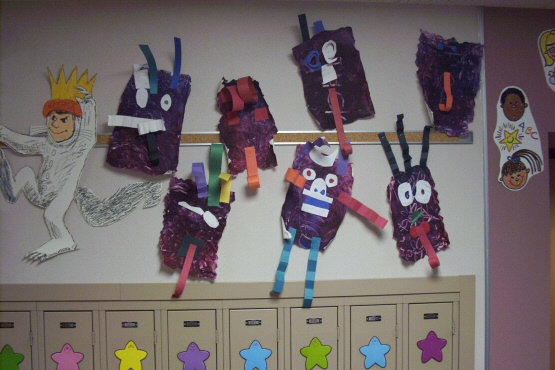
Wild Things - We make these "Wild Things" to go along with the book Where The Wild Things Are by Maurice Sendak.
For purple day, we fingerpaint mixing blue and red together. The next day, we use scraps from the scrap box and make our own creations.
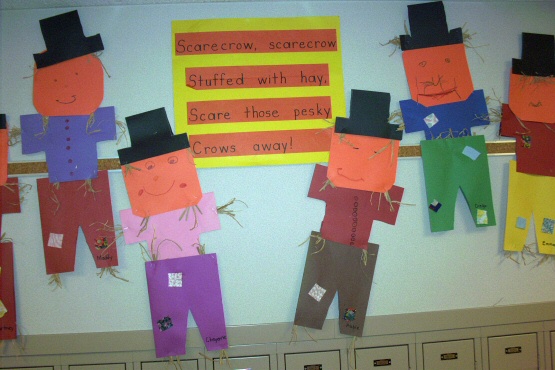
Scarecrows - We make these scarecrows with our 6th grade buddies. Each piece is folded over and I traced the paper with a template before we did the project. The kids just had to cut, staple rafia, staple the pieces together and decorate. The poem is "Scarecrow, scarecrow stuffed with hay, Scare those pesky crows away."
Bat Wind Socks - These bats look great hanging in the room. The kids add the eyes and draw a mouth on a 12x18 piece of black construction paper. They roll it and glue it together. Using a template they make the wings and add the crepe paper streamers.
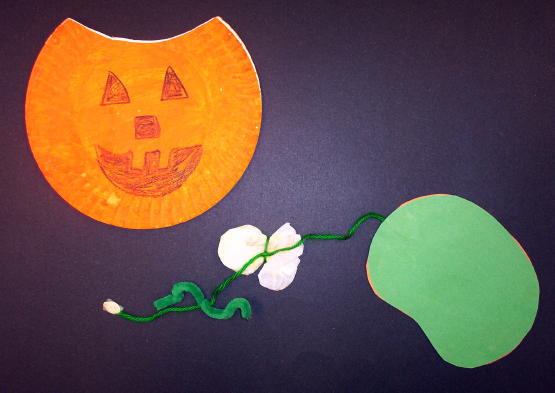
Pumpkin Life Cycle - I got this idea from Valerie Welk over 15 years ago. It is the perfect project for kids to learn about the pumpkin life cycle. To make it the kids need to paint 2 paper plates. When they are dry I staple them together. The kids then cut off a little section like a lid and decorate it to look like a jack-o-lantern. Then the kids take a piece of yarn that I have already taped a pumpkin seed to. It is cheaper to use pumpkin seeds that you eat. They then wrap a short green pipe cleaner around the yarn about 3 inches from the seed. This is the vine. Then the kids color a coffee filter yellow. They stuff it with a Kleenex and tie it a few inches from the pipe cleaner. This is the blossum. At the end of the yarn, the kids glue a green pumpkin cut out and the back side has an orange pumpkin. When done, the yarn story goes in the jack-o-lantern paper plate for retelling.
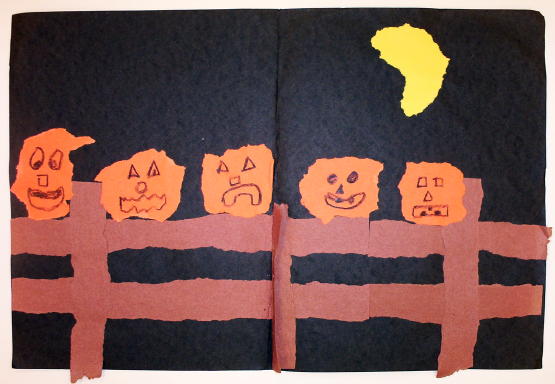
Five Little Pumpkins - This art project is so good for developing fine motor skills. I just give the kids a 9x12 orange and 9x12 brown pieces of construction paper. The kids tear the paper to make the fence and the pumpkins sitting on the gate. They can also make a moon. There are some great books that are this traditional rhyme.
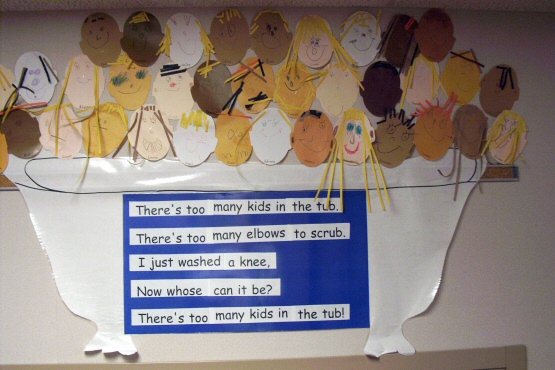
Too Many Kids in the Tub - This project looks great as a bulletin board. Every child makes a face to put in the tub. I used to use paper plates for the faces, but now I use the multi-cultural face sheets. The ones I use are from Lakeshore. The poem is: There's too many elbows to scrub I just washed a knee Now whose can it be There's too many kids in the tub.
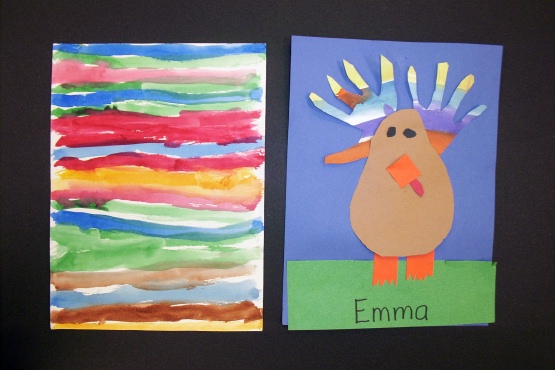
Turkey - To make this turkey, the kids first paint stripes with watercolors on a 9 x 12 piece of white construction paper. The child traces his/her hands on the painted sheet and cuts them out. The body is made by tracing a template and the grass is made by fringing 3 x 9 green paper. Add the face and feet.
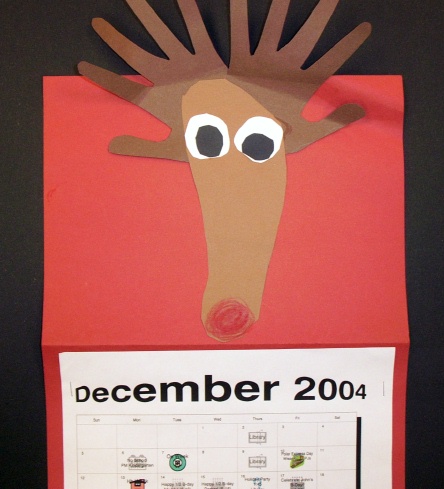
Reindeer - We put this reindeer on our December Calendar. To make the reindeer, the child folds a 9 x 12 brown construction paper and traces his/her hand. He/she cuts out the hands. The child then traces his/her foot on 6 x 9 brown construction paper. Round off the corners of white and black squares for the eyes and color in the nose. I love to read The Reindeer Christmas by Moe Price with this project.
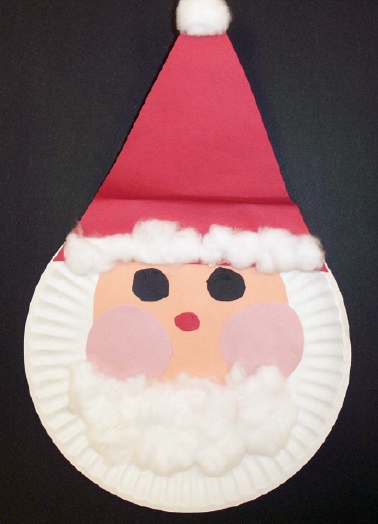
Paper Plate Santa - To make this Santa, round off the corners of 5 1/2" x 5 1/2" peach construction paper. Glue onto the plate for the face. Round off the corners of 2- 2 1/2" x 2 1/2" pink squares and glue on for the cheeks. Round off 2-1" black squares for the eyes and a 3/4" red square for the nose. You can use a template for the hat or have the kids cut a triangle from a square. Add cotton balls to the hat and beard and you have your Santa! I like to read How Santa Got His Job by Stephen Krensky and Careful, Santa! by Julie Sykes when we do Santa projects.

A House For Hermit Crab - This project goes along with the book A House for Hermit Crab by Eric Carle. To make the crab, the kids trace a shell template. The crab's body is their hand with a circle head and antennae. The kids decorate the shell, just like hermit crab did. I use misc. things in my cupboard like sequins and feathers. The kids really enjoy this project.
V Vase - During V week, my students paint flowers in a vase. The vase is made out of a die cut V.

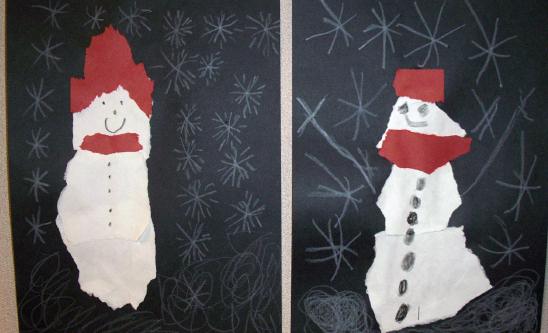
Torn Paper Snowman - This snowman is great for developing fine motor skills. Each child has to tear 3 circles, a scarf and a hat to make his/her snowman. He/she glues it on black paper and draws snow with a white crayon and draws a face and buttons with a black crayon.
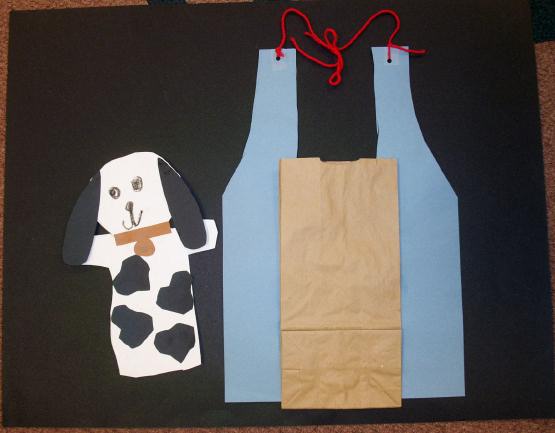
Apron with Baby Animals - We make this project on kangaroo day. It goes with the book Katy No Pocket by Emmy Payne. This is always one of the kids favorite projects. They make the apron by tracing a pattern and then I assist with the strings. The kids glue on a paper bag for the pocket. Then using a generic stencil and the scrap box, the kids make all kinds of baby animals to put in their pocket.
Ladybug - This ladybug is very easy to make make. To make the body the kids round off the corners of a red square. For the head, they round off the corners of a black square. For the legs and antenna, I have cut the paper and they glue them on the body and head. To make the spots, we use Do-a-Dot Markers.
Paper Plate Dog - This dog is so easy to make and the kids love him. All they need to do is trace their foot on folded black paper so they get 2 ears. They glue it on a paper plate and draw the face. For the spots, the kids can paint black spots or use Do-a-Dot Markers for fun colored dots.

Dragon Hat - Thanks to Barbara Rothman for this cute hat idea. To make it, the child traces a template on 2 sheets of 8" x 18" green construction paper. I staple the 2 pieces together so they stay together when being cut out. Cut them out. The child then glues the orange and yellow tissue paper strips in between the 2 pieces in the mouth area. Do not glue the entire thing together. After it is dry, put it on the child's head, with the head between the 2 pieces. Staple it on the tail so it fits the child's head.

Foot Dragon - Kids love to make this dragon because he is so easy! All they do is trace their foot on green construction paper. They glue it onto white construction paper. All they have to do is add the legs, neck, head and tail with crayon. It is amazing how great their dragons turn out. Be sure to check out my Little Books section of this website for some great Little Books you can also make with this theme. I have listed some of my favorite dragon books below.

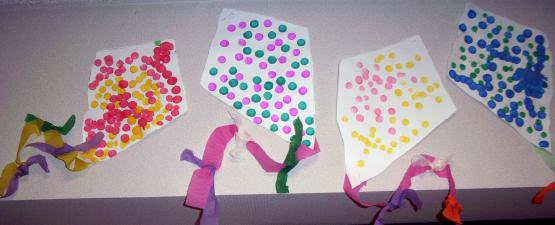
Kites - Shown hear are 2 different kites that your students can make for Spring. The first kite needs 2 different size templates to trace. The child traces the smaller kite on a watercolor design that he/she painted. The child glues the watercolor smaller kite onto the larger plain kite. The tail is tissue paper bows. The second kite just uses 1 template. The children decorate their kite shapes with Do-a-Dot Markers. I have listed some of my favorite kite books below.

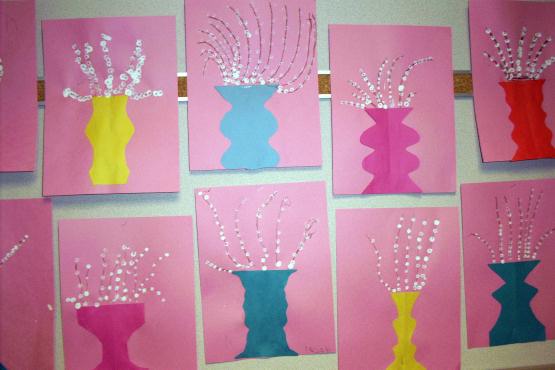
Pussy Willows - Celebrate spring with a vase of Pussy Willows. Kids make the vase by folding paper in half and cutting the sides. They then draw brown stems and use white paint and q-tips to make the pussy willows. Meow Monday is a great book to read when making this project.
Zebra - To make this zebra, trace a horse template onto white construction paper. Cut out the horse. Turn it into a zebra by painting black stripes onto it. Tape on a tail. I have my students write the sentence "My zebra has ___ stripes." The child writes the number in the blank. I have listed some of my favorite zebra books below.

|