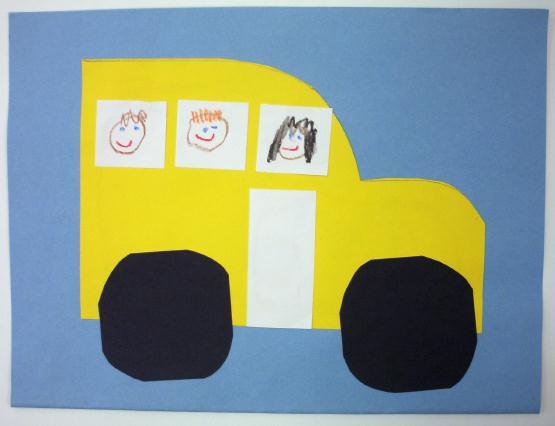
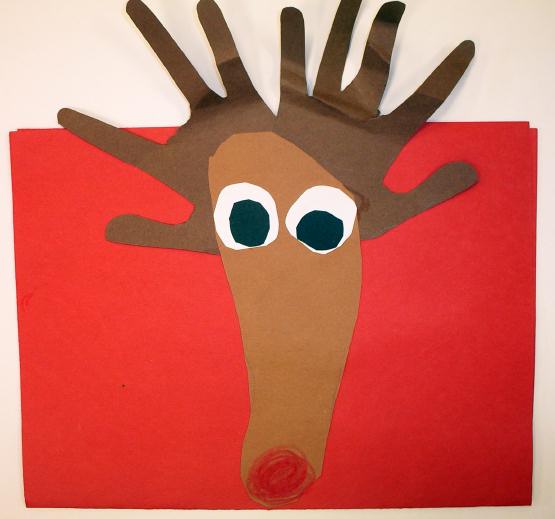
Monthly Calendars(Click on any image to see a larger version of that image.) Every month I make a monthly calendar that has all of the important dates for the month on it and birthdays. I staple the calendar on the lower half of a 12 x 18 piece of construction paper. The children make an art project to go on the top half. When making the calendar, the kids have to remember that the fold goes "toward their tummies" or else the calendar will be upside down. We make the calendar on the first day of the month or or on the last day of the previous month. When introducing the month, I always play the month song from Jack Hartmann’s Rhythms and Rhymes for Special Times cd. There is a different one for each month as well as holiday songs. All of the songs are absolutely wonderful!! In September, I had always made this school bus. The line to cut the bus was already drawn on the paper so the kids just had to cut the line. They rounded off the corners to make the wheels and glued on a rectangle for the door and squares for the windows. It was a little difficult for some of the children, but it was a good way to give a lot of instruction for important skills.
I recently changed to making this Calendar in September. We do it on the day we go and look for the Gingerbread Man. I have traced the pattern for the kids ahead of time, but the cutting is still difficult for many of the kids.

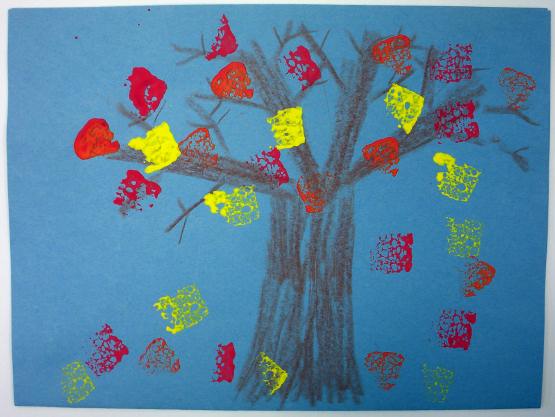
The October Calendar is very easy to make. The kids draw the trunk of the tree and then they sponge paint the different color leaves.
To make this November Calendar, the kids color a coffee filter with markers and then spray it with a little bit of water. The colors should run. When the filter is dry the kids turn it into this turkey. The body shape is a template that they trace.

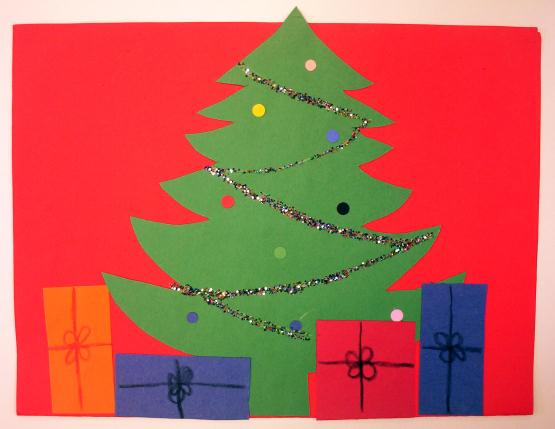
This is the December calendar that I made for many years. The tree is run off so all the kids have to do is cut it out. Of course, their favorite part is the glitter!!
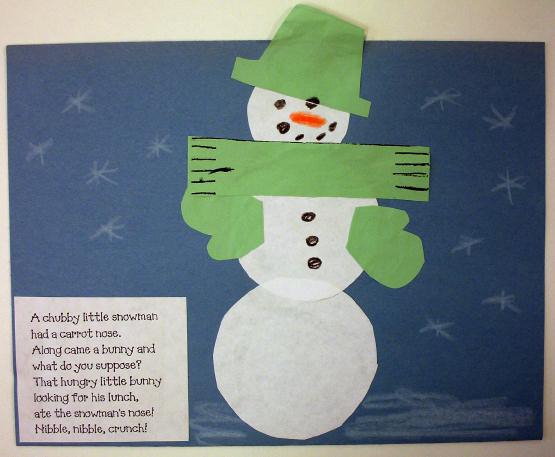
To make the January Calendar, everything is just run off on the copy machine. Each child has 3 white circles and colored hat, mittens and scarf.
I also add this traditional poem: Along came a bunny and what do you suppose? That hungry little bunny looking for his lunch, Ate the snowman's nose! Nibble, nibble, crunch!
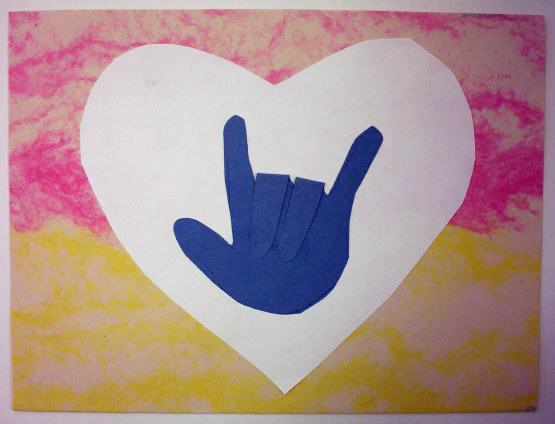
To make the first February Calendar, I ran of the hearts on different colors of paper. The kids had to glue them to look like the little caterpillar. I recently changed to this easier version. The kids have to trace the heart template and trace their hand. They glue 2 fingers down to say "I Love You" in sign language. 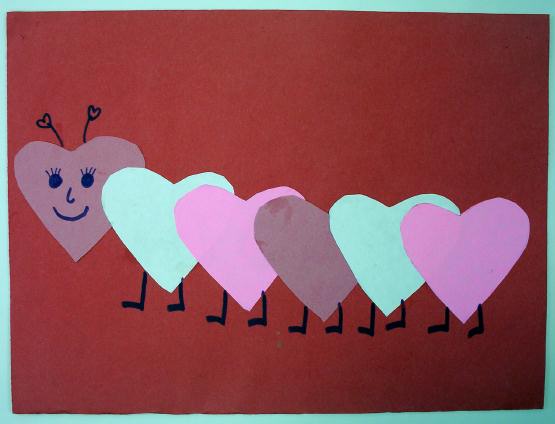
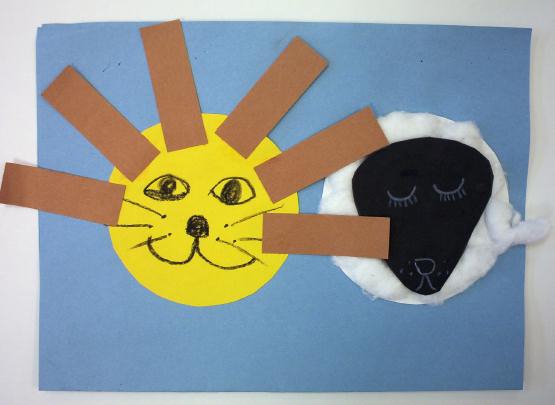
This first March calendar is made using a template that the kids trace. They trace the same circle on white and yellow. I have another template for the sheep's face that the kids trace on black. The brown strips are precut and they add cotton to the sheep.
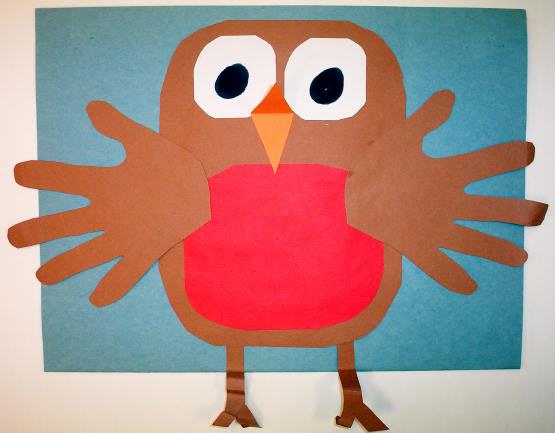
This is another fun March calendar to make. The kids round off corners for the body and trace their hands for the wings.
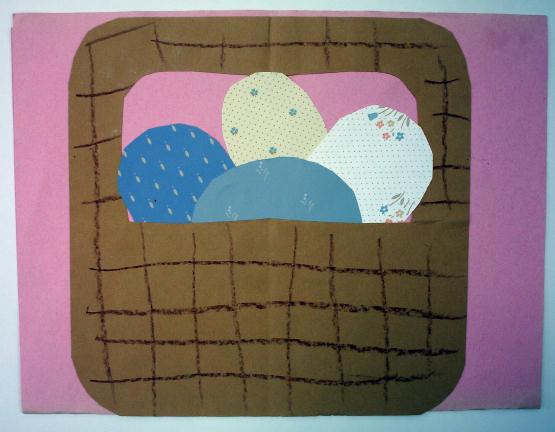
This calendar can be made in March or April, depending on when April falls that year. The basket is made by folding a brown square and the cutting out the handle. The eggs are traced on wallpaper scraps.
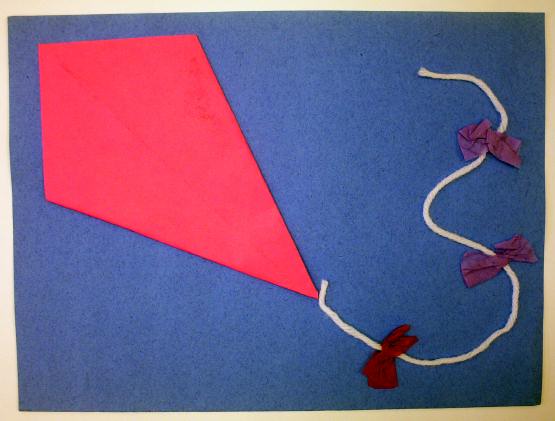
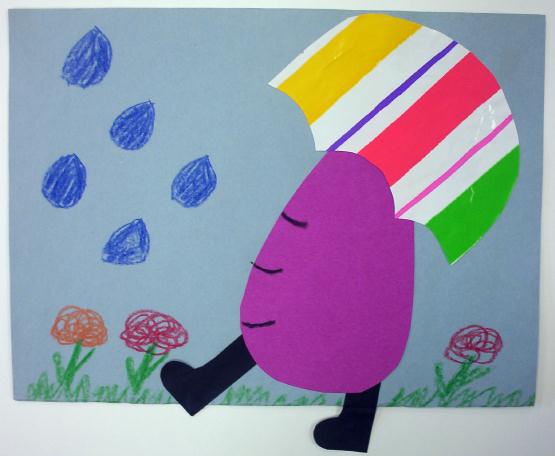
This April Calendar is made from tracing 2 different templates. To make the body, the kids trace a raindrop shape on any color construction paper. The umbrella-shaped template is traced on bright colored wrapping paper or wallpaper.
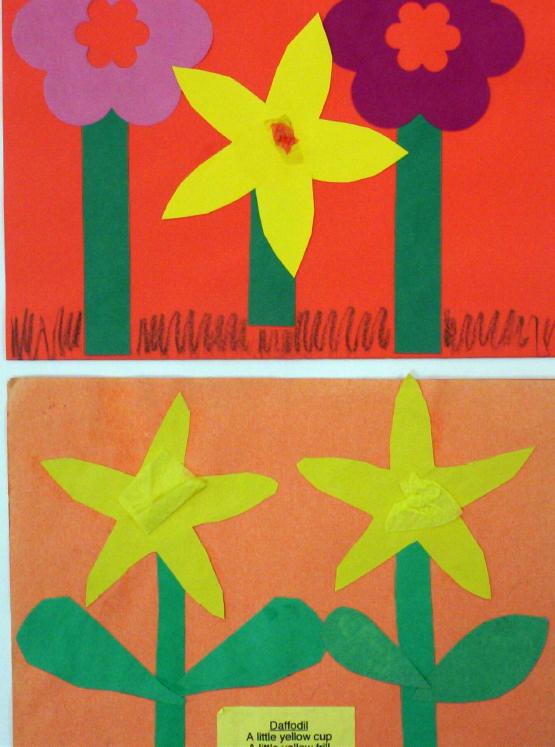
For the May calendar the kids make flowers in many different ways. The kids can just draw flowers, they can trace templates or use die cuts.
|